Sometimes, buying a home is just the beginning of the adventure. While you might think you love everything about a house at first, you might decide there are some things you’d like to change. Maybe you’re not as big of a fan of that Burgundy accent wall as you thought you were. Or maybe you would like it if your walls or ceilings were textured. That’s not bad news!
Repainting a wall or texturing a ceiling in your house are projects that can save you money and make you feel fulfilled. And if those are the two specific DIY challenges you’re planning on taking on, then you’ve come to the right place!
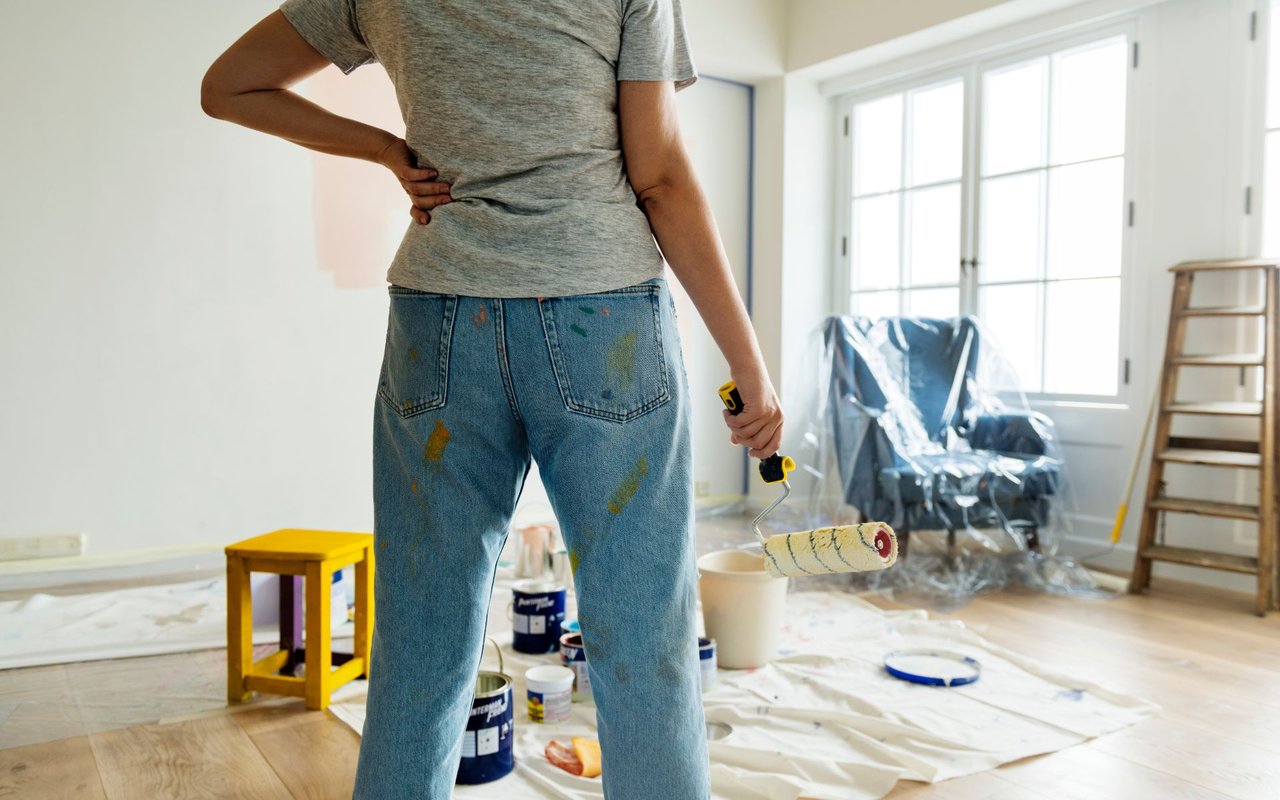
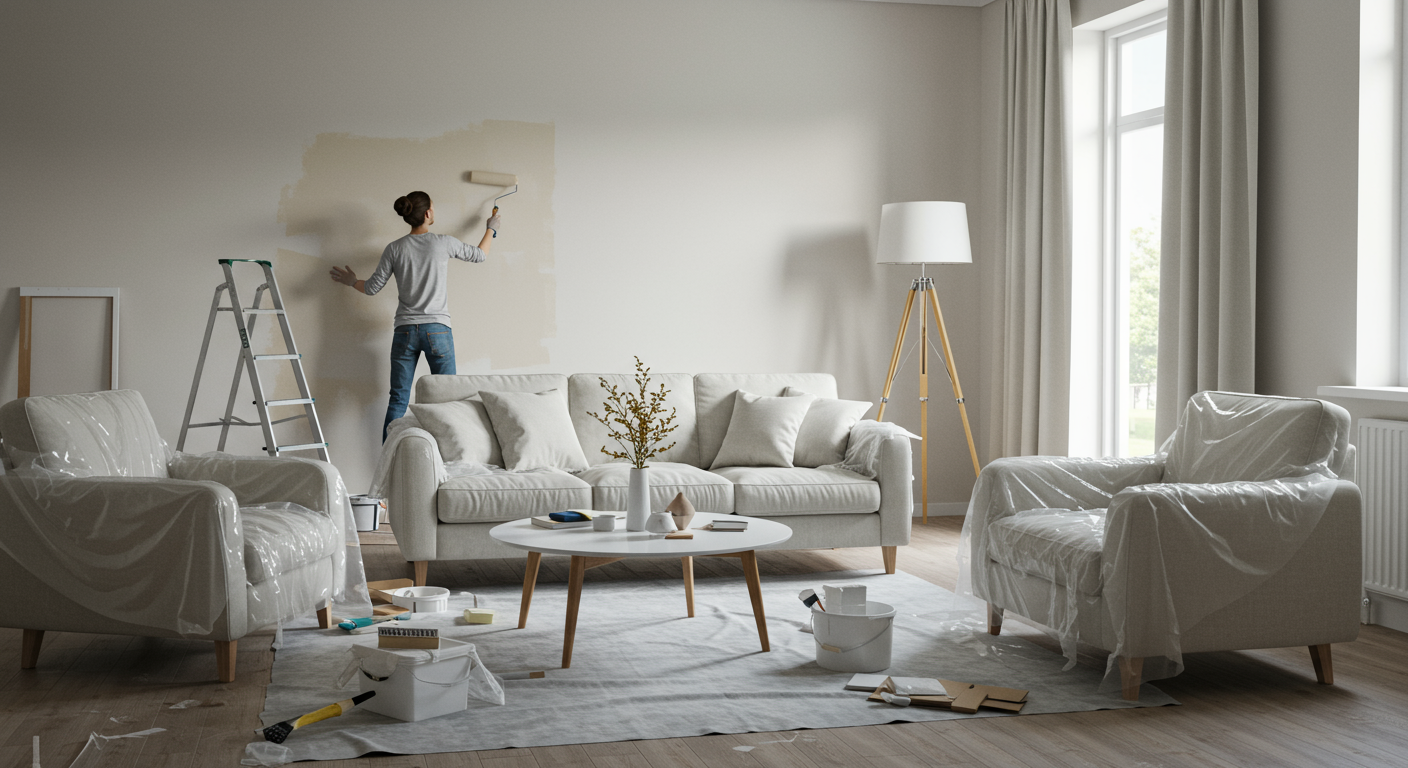
Painting tips and things to keep in mind
If you’re planning to paint, plan on making a mess! No matter how hard you try to prevent it, the paint will drip from your brush and land on the floor or on a baseboard. Lay down a paper or plastic drop cloth to keep your floor clean. Move furniture to the center of the room you’re painting and cover it in plastic as well to keep it pain-free.
Start with the ceiling. Because walls are closer to you and easier to reach, it’s tempting to paint them first. I learned the hard way that it’s a lot better to start with the ceiling because you can bump into walls or use them as support without worrying about getting covered in paint or ruining the wall’s finish.
Use painter's tape to create a border around areas you don’t want to paint. Painter's tape lets you create sharp edges and can prevent the hassle of scrubbing off unwanted paint. But when you’re done painting and it’s time to peel off the tape, be sure to do it carefully and have a knife ready to slice the tape free from dried paint. If you pull the tape off quickly, there’s a good chance it will take some of the paint with it.
Pour out small amounts of paint at a time – even if you have a large wall or ceiling to paint. It’s easy to get distracted or realize there’s something you should do before finishing the task at hand. While you’ve stopped painting, the paint hasn’t stopped drying. Coming back to a tray of dry paint isn’t fun, but saving paint and money is!
Tips for texturing a ceiling and working with Joint Compound
Joint Compound is s a fine white powder that becomes like thick mud when mixed with water. While it’s meant to create the seam, or joint, between sheets of drywall, it also works great to apply a texture to a wall or ceiling.
When buying Joint Compound, pay attention to its “work time.” The work time, which is often the large number printed on the side of the container the compound comes in, is the amount of time in minutes before the compound hardens after it’s mixed. So if I buy “20 Joint Compound,” I’d have 20 minutes to finish my project before it hardens – so I’d have to work quickly!
Plan for the project to take longer than you think it would. If you’re adding texture to a large ceiling, you’ll need a lot of Joint Compound and a lot of time to apply it. Pick out a product with a long work time to account for that. Which leads me to my final point…
There are different ways to create different textures. One texture that’s easy to create is called the Skip Trowel or Knock Down pattern. To apply it, scoop up some Joint Compound with a drywall trowel and smear it on the desired area. Then, keep the trowel flat and press it to the compound. Pull the tool straight back, suctioning up some of the compounds with it, forming small peaks and valleys. Using a tool called a drywall knife, which is like a flexible spatula, gently drag it across the compound and apply very little pressure. This will “knock down” the peaks leaving the valleys behind. This creates the pattern.
Though these projects seem intimidating, they only take hard work and a little bit of patience. And with a little practice, you’ll be texturing and painting like the pros!